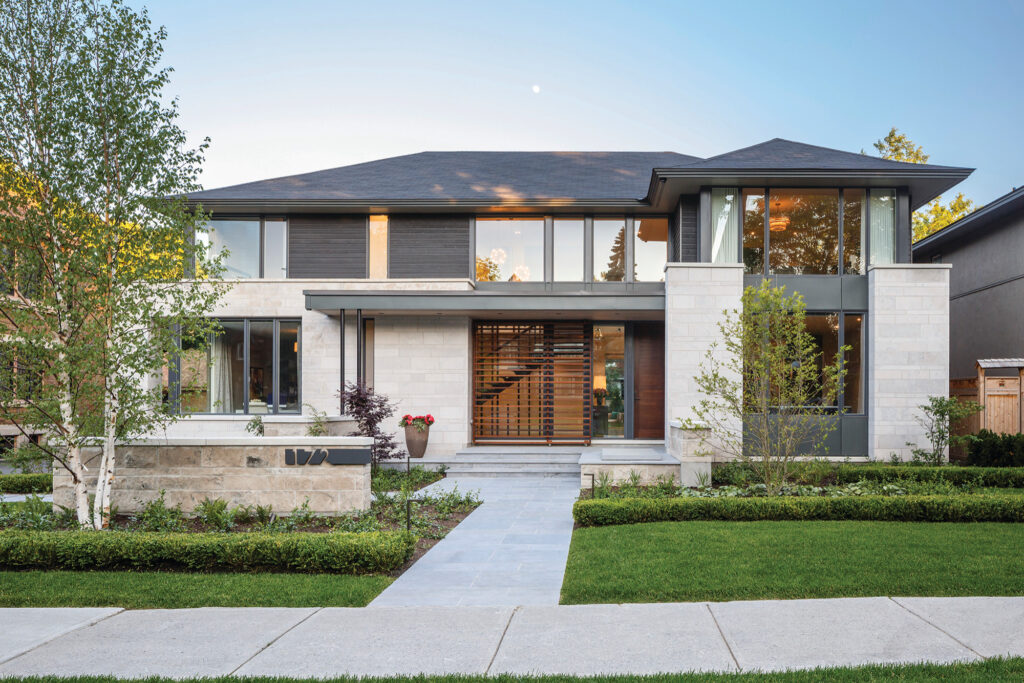
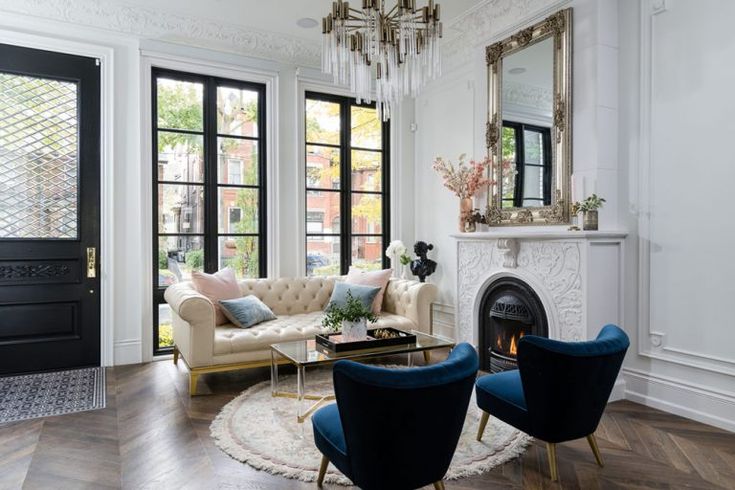
A practical, step-by-step guide to getting your home market-ready: what to fix, what to skip, and how to help buyers feel at home the moment they walk in.
Looking for how I sell your home? Pricing, marketing, negotiation and my step-by-step process are on Selling your home with Irina →
Why preparation matters
Most buyers see your home online before they ever walk through the door, and they form an opinion in seconds. A home that looks clean, bright and cared for gets more showings, feels less risky to buyers, and is easier to price confidently.
The good news: you rarely need a renovation. The steps in this guide are mostly about time and care, not big budgets. Done well, they help your home sell faster and put you in a stronger position when offers come in.
Preparing a home you have lived in for decades brings its own questions, such as which repairs are worth doing and what to do with a lifetime of belongings. See Preparing a long-held home on Downsizing GTA.
Your six-week preparation timeline
Every home is different, but this is a comfortable schedule for most sellers. Short on time? We can compress it together.
6 weeks before listingMeet with your agent, get a pricing plan, and decide together which improvements are worth doing.
5 weeks beforeStart decluttering and packing things you won’t need. Book any trades (painter, handyman, cleaners) now.
4 weeks beforeComplete repairs and painting. Consider a pre-listing inspection so there are no surprises.
3 weeks beforeDeep clean inside and out, and tackle curb appeal: lawn, garden, entrance and front door.
2 weeks beforeStage the main rooms, add final touches, and gather your documents and receipts.
1 week beforeProfessional photos, video and floor plans are taken, and your listing goes live.
1. First impressions: the exterior
Your home’s exterior is the first photo in your listing and the first thing buyers see in person.
Cut the lawn, edge the garden and trim overgrown shrubs
Power-wash the driveway, walkway, porch and deck
Paint or refresh the front door, and update the house numbers and light fixture
Add a new doormat and a couple of potted plants by the entrance
Clean windows, gutters and exterior light fixtures
In winter, keep walks and steps clear of snow and ice
2. Declutter and depersonalize
Buyers need to imagine their own life in your home. Less “stuff” makes rooms look bigger, brighter and easier to picture.
Clear kitchen and bathroom counters of almost everything
Thin out closets, since buyers will open them, and aim for about one-third empty
Pack family photos, collections and personal items
Remove extra furniture so every room has clear walking paths
Rent a short-term storage unit if you need to
3. Deep clean
A spotless home tells buyers it has been well looked after. Consider hiring professional cleaners for a one-time deep clean.
Kitchens and bathrooms: grout, taps, appliances and inside cupboards
Windows, baseboards, light switches and door frames
Carpets steam-cleaned and floors polished
Neutral, fresh-smelling air, with no strong fragrances
Pets’ beds, bowls and litter boxes out of sight for showings
4. Repairs and paint
Small defects make buyers wonder what else has been neglected. Fixing them is usually quick and inexpensive.
Fix dripping taps, running toilets and slow drains
Repair squeaky doors, sticking drawers and loose handles
Replace burnt-out bulbs and use consistent, bright light
Patch holes and cracks, and re-caulk tubs and showers
Repaint bold or scuffed walls in soft, neutral colours
5. Home staging
Staging shows buyers how each room can be used and helps your photos stand out. It can be as simple as rearranging what you already own.
Give every room one clear purpose, such as office, guest room or dining
Arrange furniture around a focal point and away from walls where possible
Add fresh towels, a simple bedspread and a few plants
Open blinds and curtains, and turn on every light for showings
Focus on the living room, kitchen and main bedroom first
6. Professional photography
Your photos are your first showing. I arrange professional photography, and where it suits the home, video, virtual tours and floor plans, so your listing looks its best on MLS®, REALTOR.ca and social media.
7. Gather your documents
Having paperwork ready builds buyer confidence and avoids delays once you accept an offer.
Recent property tax bill and average utility costs
Receipts, warranties and permits for renovations and major items (roof, furnace, windows)
Appliance manuals and warranty information
Your survey, if you have one
For condos: a copy of the status certificate (usually ordered once the home is listed or sold), and maintenance fee details
What’s worth doing, and what usually isn’t
Before spending money, ask: will a buyer notice it and value it? Here’s a general guide. I’ll give you specific advice for your home.
✅ Usually worth it
Neutral paint where walls are bold or worn
Small repairs and fresh caulking
A professional deep clean
Tidy landscaping and a fresh front entrance
Brighter light bulbs and updated fixtures
Minor kitchen refresh: hardware, faucet, lighting
❌ Usually not worth it
Full kitchen or bathroom renovations right before selling
Big projects that delay your listing into a slower season
Selling a condo?
Book the elevator and loading dock for your photographer, stagers and movers
Make sure your locker and parking details are clear and easy to show
Keep a list of building amenities and what the maintenance fee includes
Balconies count: clean them and add simple seating or plants
Irina’s special touch
As your agent at RE/MAX Realtron Realty, I don’t just hand you a checklist. Before listing, I walk through your home with you, tell you honestly what’s worth doing, and help you get it done: staging advice, trusted trades, cleaners and professional photography. If you’re downsizing after many years in your home, as a Seniors Real Estate Specialist (SRES®) I’ll plan every step with patience and care.
Your printable checklist
Tip: print this page (Ctrl+P or Cmd+P) and tick items off as you go.
Pricing plan agreed with your agent
Trades and cleaners booked
Clutter packed or stored
Repairs finished and walls painted
Deep clean done
Exterior and entrance refreshed
Main rooms staged
Documents and receipts gathered
Photos, video and floor plans booked
Pets and valuables planned for showings
Home preparation questions
How long does it take to prepare a home for sale?
Most homes need two to six weeks, depending on how much decluttering and repair work is needed. If you’re on a tight timeline, we’ll focus on the few changes that make the biggest difference.
Do I need to stage my home?
Not always, but staged homes usually photograph and show better. Often we can stage using your own furniture, simply by removing extra pieces and rearranging the rest. Vacant homes benefit most from professional staging.
Should I get a pre-listing home inspection?
It can be a good idea, especially for older homes. It shows you any issues in advance, so you can fix them or price accordingly, and it can make buyers more comfortable.
Should I paint before selling?
If walls are scuffed, very bold or dated, yes. Fresh, neutral paint is one of the most affordable improvements, and it makes rooms look brighter and larger in photos.
Should I be home during showings?
It’s best to step out. Buyers feel more comfortable exploring, asking questions and picturing themselves in the home when the owners aren’t there.